
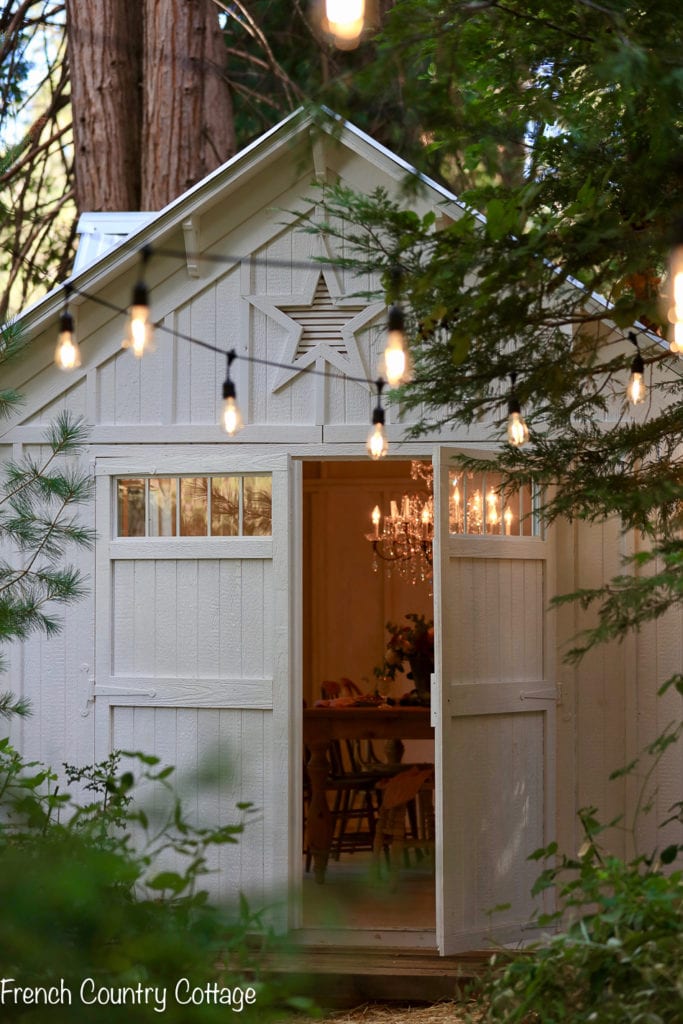
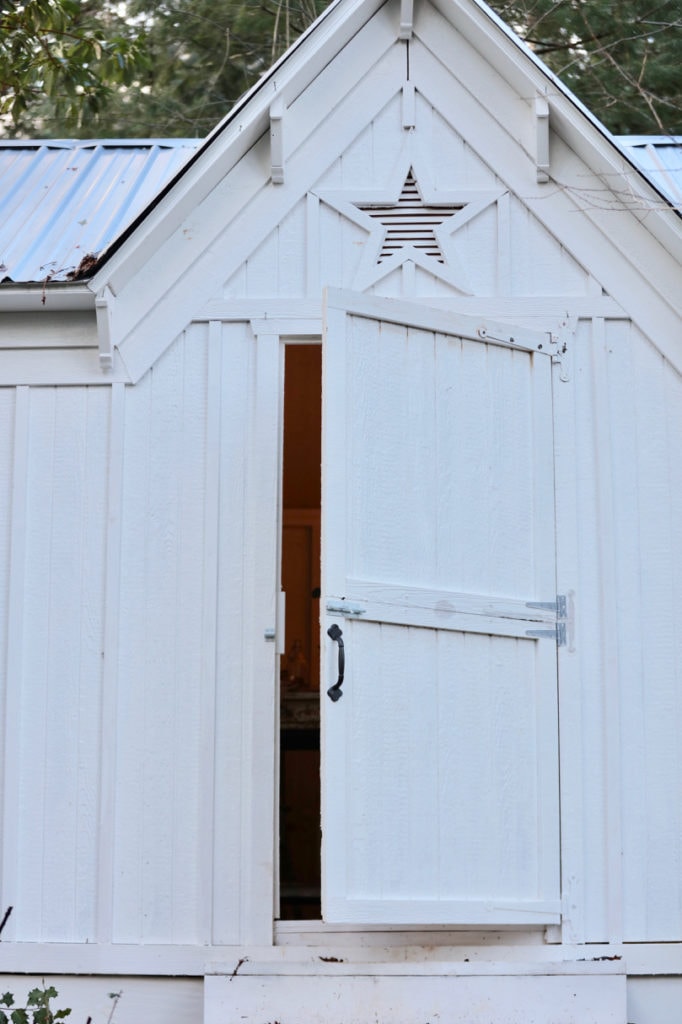
There is just something about a dutch door that has a whole lot of charm.
Dutch Doors
Dutch doors have long been something I have loved-
I think the love affair with them probably started with an illustrated storybook that was a favorite to look through when I was little.
And that love has continued along with my obsession with all things home.
and I can’t tell you what a difference it has made in how our home feels.
Though we aren’t opening the top currently since it is a bit chilly to have the doors or windows open in winter- I did open the top when a Fed Ex delivery guy knocked recently and he just stood there and looked at the door and said ‘a half door?’
We laughed a bit about it and when I shared a photo of one of our Dutch doors recently – a ton of questions about how to put one in. I remembered that I had planned to share the DIY and even had the post ready- but didn’t get it shared. So sharing here today.
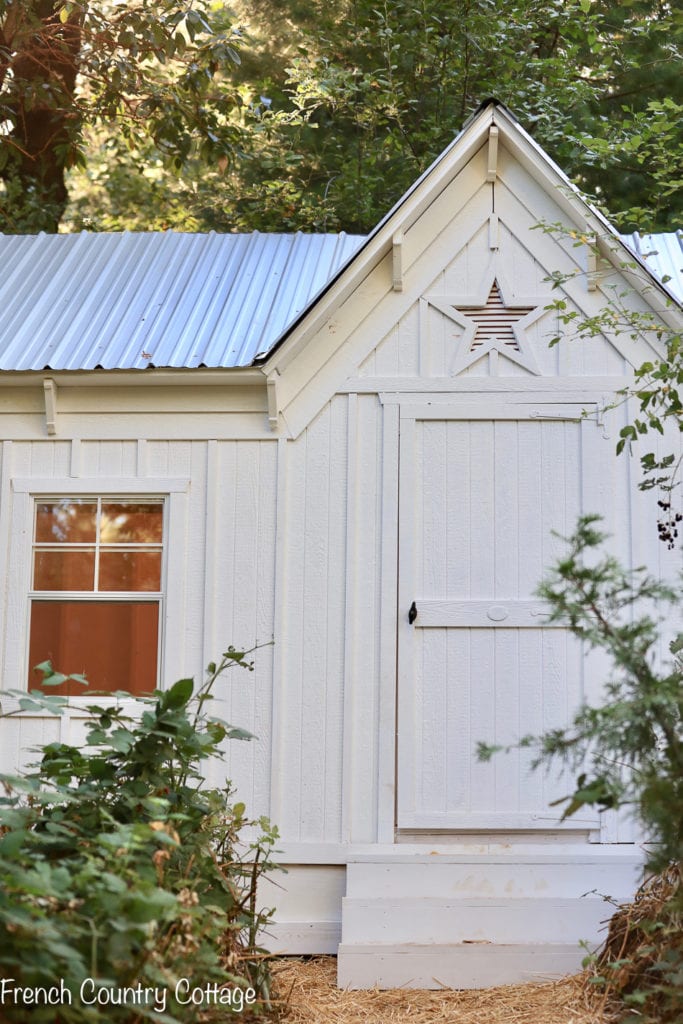
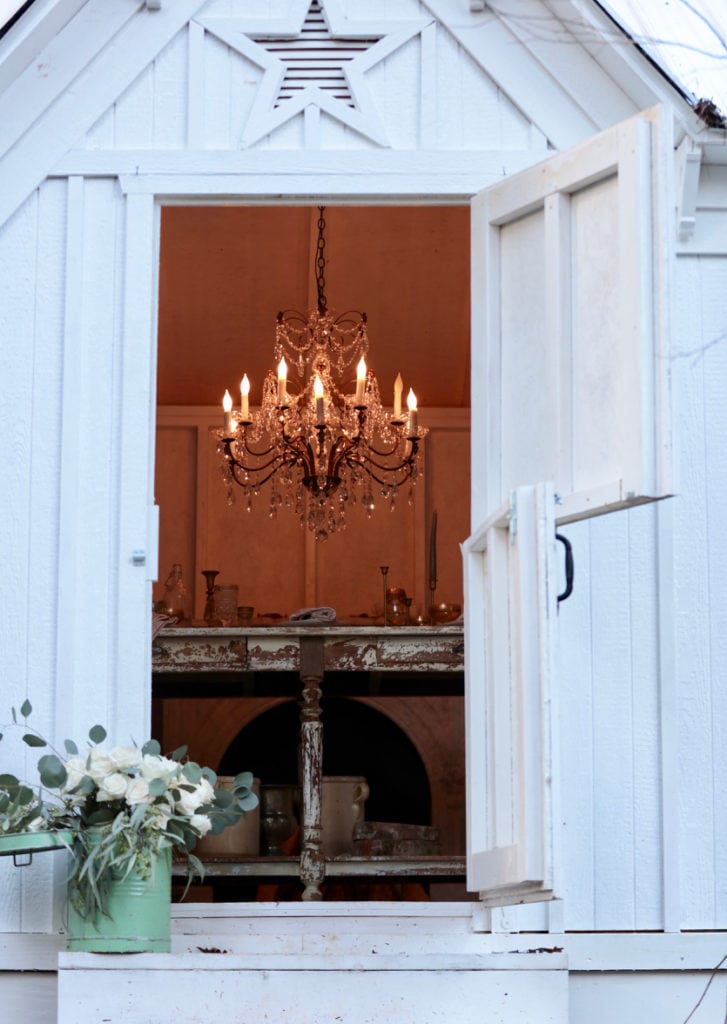
Barn Dutch Door
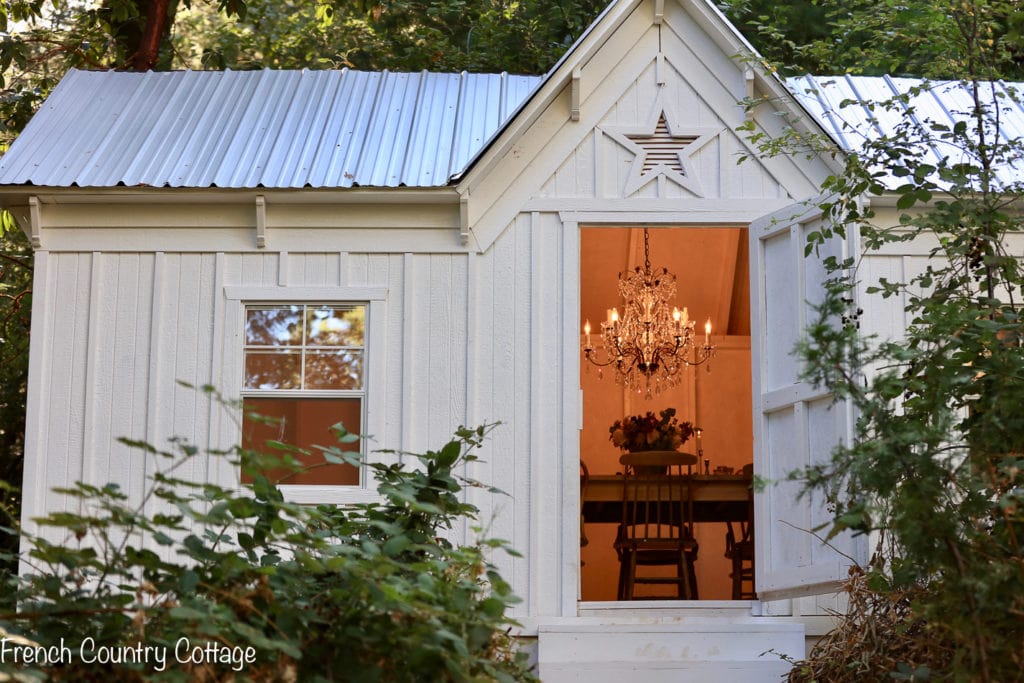
Of course dutch doors have oodles of charm- but they are also practical.
For pets or young children for example- you can open the door for fresh air while having the security of the bottom closed so no wandering out unattended (or animals wandering in)
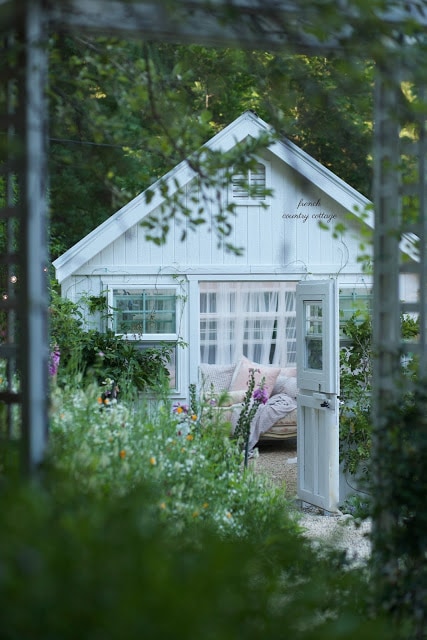
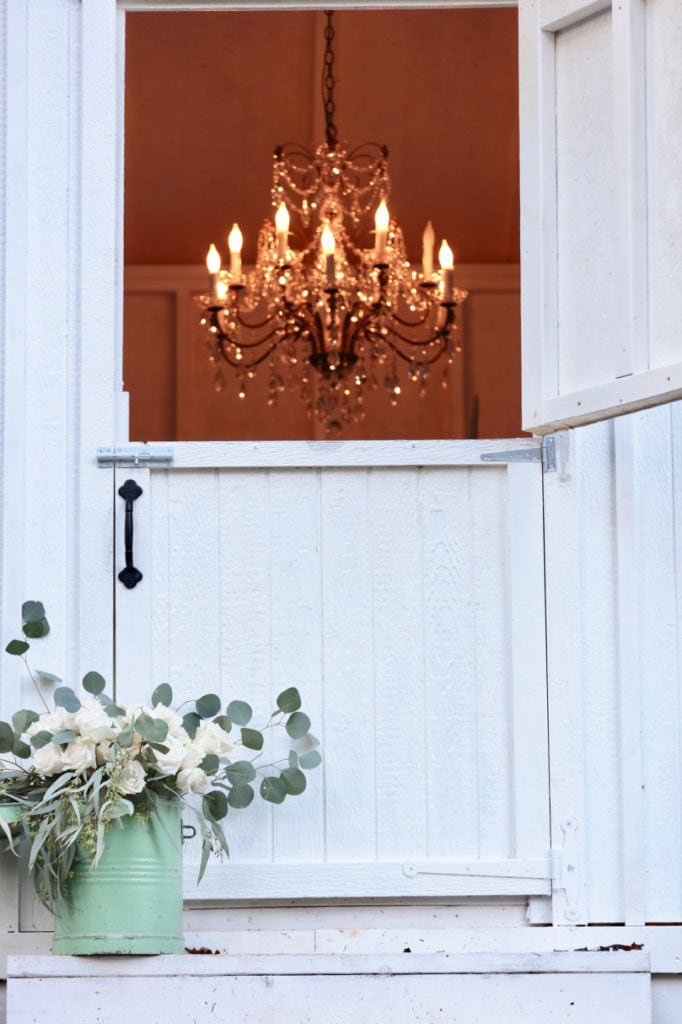
We have a small dutch door on the greenhouse as well
adding dutch barn doors to it was on the list. Barns traditionally do have those 2 part doors- so it was an instant on the to-do list when we built this.
DIY Dutch Doors
And taking this regular door and making it into a dutch door was a quick and easy project.
It was so simple to do – and with just about $20 in hardware.
you need:
4 hinges – 2 per each door section
A latch to keep the door sections together when you want them together
(affiliate links for what we used at the end of the post)
Since this door was already attached when the section of the barn arrived-
we had to remove it to be able to customize.
This door is a barn door- so not built like a regular door- but it did have the framing board in the center that was perfect for splitting into two sections.
Creating a Dutch door
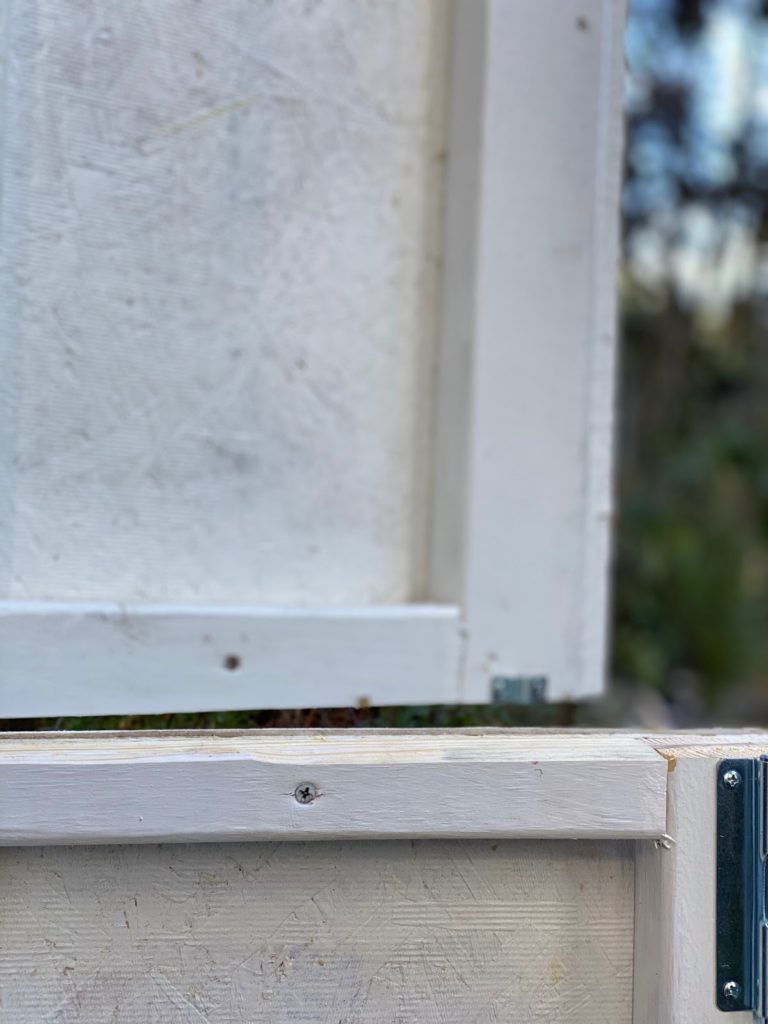
After cutting the door in half where those center boards were-
my husband simply attached 2 new hinges so that there was one at the top and one at the bottom of each door section.
Note:
He left the original large hinges at the top of the top door and bottom of the bottom door.
You can see where the old center hinge was and the new added hinges are.
Most doors have 3 hinges on them- top, center and bottom.
You can also use the original hinges of a door-
you just won’t have the center one being usable after splitting the door.
Putting the door back on the barn
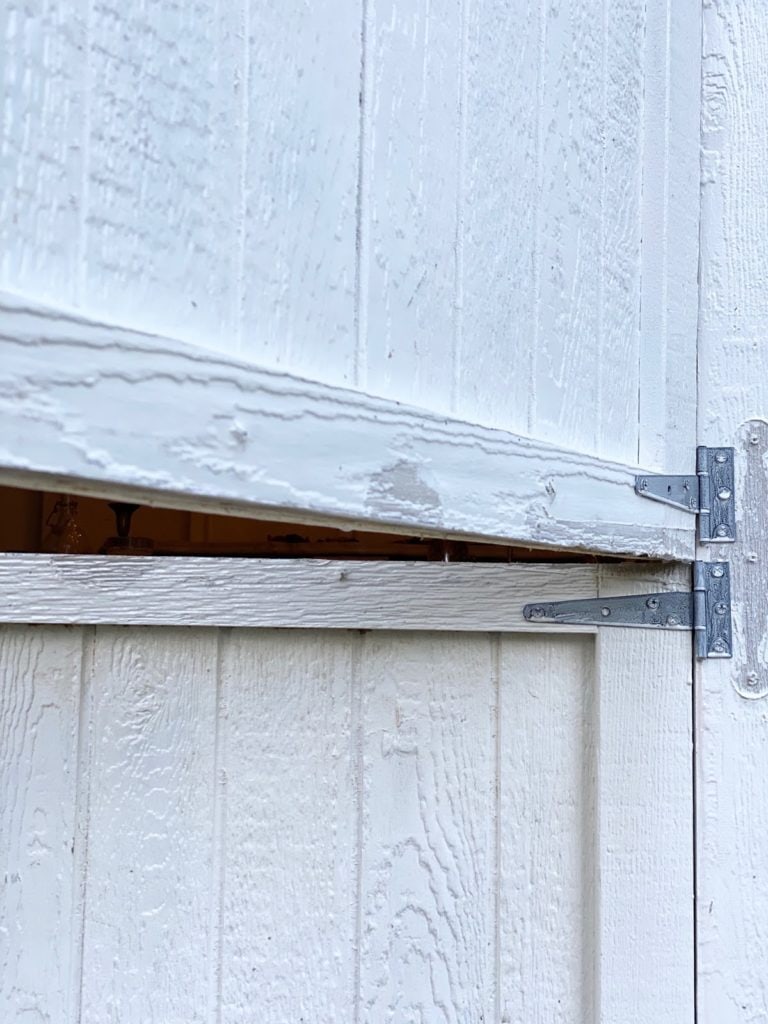
He started with the bottom section of the door and attached the hinges to the new door frame-
Then repeated with the top.
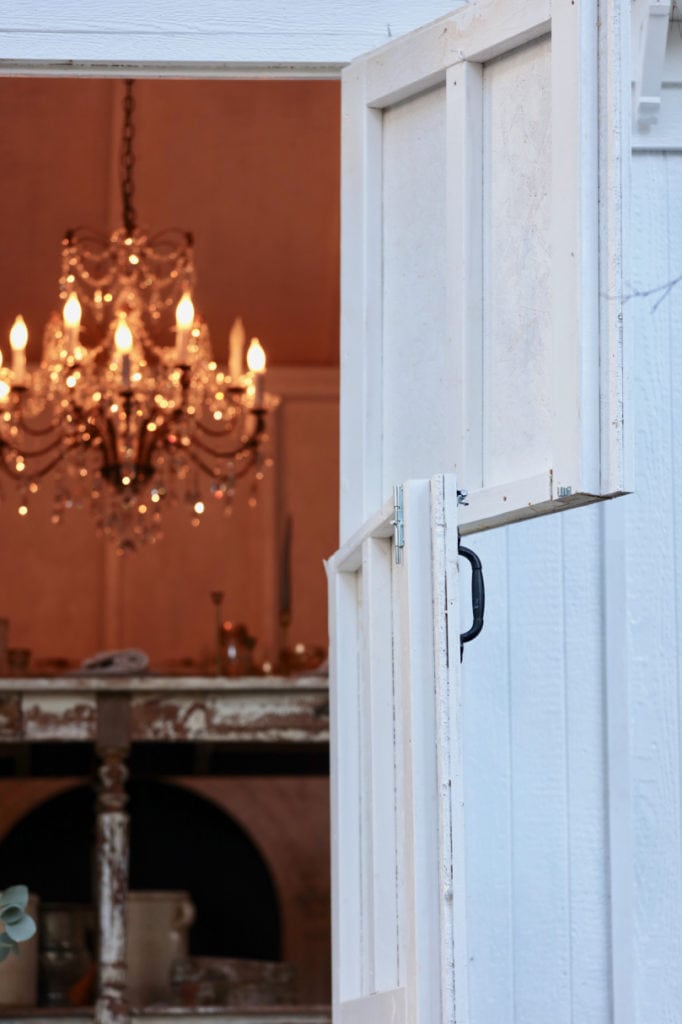
Inside the door- there is a latch that keeps them together-or opens each individually
when it is left open-
and there is also a silver bolt in place on the outside temporarily-
but that won’t be staying.
For an additional ‘seal’ you can add a strip of wood across the back inside of the door where the two doors come together – so that there is no ‘breeze’ coming through.
We also added a barn door to the potting shed when we built it. That door was a vintage door that we did pretty much this same process to and created the barn door. We are doing a couple of updates on the potting shed so will share more about that soon.

Shop the Look


